Are you tired of spending a fortune on commercial skincare products? Look no further! Homemade face toners are an excellent way to refresh and balance your skin without breaking the bank. In this article, we’ll explore how to create natural toners tailored to various skin types, using ingredients you likely already have in your kitchen.
Why Use Homemade Face Toners?
Homemade face toners have gained significant popularity in recent years, and for good reason. Let’s delve deeper into the benefits of creating your own toners:
- Cost-effective: Commercial toners can be quite expensive, especially high-end brands. By making your own, you can save a considerable amount of money. Many of the ingredients used in homemade toners are inexpensive and readily available in your kitchen or local supermarket.
- Natural ingredients: When you create your own toners, you have complete control over what goes onto your skin. Commercial products often contain artificial fragrances, preservatives, and other chemicals that may irritate sensitive skin. A lot of toners I have used in the past have created a burning feeling on my face, back then I thought this was normal. Homemade toners allow you to use pure, natural ingredients, reducing the risk of skin reactions and long-term exposure to potentially harmful substances.
- Customisable: Everyone’s skin is unique, and what works for one person may not work for another. With homemade face toners, you can easily adjust the ingredients and concentrations to suit your specific skin needs. Whether you’re dealing with oiliness, dryness, or sensitivity, you can tailor your toner to address these concerns.
- Eco-friendly: By making your own toners, you’re reducing the demand for commercially produced products. This means fewer plastic bottles, less packaging waste, and a smaller carbon footprint. You can reuse containers for your homemade toners, further reducing your environmental impact.
- Freshness and purity: When you make small batches of toner at home, you ensure that the product is fresh and at its most potent. Commercial toners often contain preservatives to extend shelf life, which may not be necessary for products you make and use within a short time frame.
- Educational and empowering: Creating your own skincare products can be an educational experience. You’ll learn about different ingredients and their benefits, gaining a deeper understanding of what your skin needs. This knowledge can be empowering, allowing you to make informed decisions about your skincare routine.
- Avoid harmful additives: Many commercial toners contain alcohol, which can be drying and irritating to the skin. By making your own, you can ensure that your toner is alcohol-free and gentle on your skin.
- Therapeutic benefits: The process of creating your own skincare products can be relaxing and enjoyable. It’s a form of self-care that goes beyond just applying the product – you’re involved in the entire process from start to finish. It can become a fun little hobby too!
- Transparency: With homemade toners, you know exactly what’s in your skincare product. There’s no need to decipher long lists of unfamiliar ingredients or worry about undisclosed additives.
- Seasonal adaptability: You can easily adjust your homemade toners to suit the changing needs of your skin throughout the year. For instance, you might opt for more hydrating ingredients in winter and more clarifying ones in summer.
By choosing to make your own face toners, you’re not just caring for your skin – you’re making a choice that benefits your purse, the environment, and potentially your overall well-being. It’s a small step towards a more natural, conscious approach to skincare.
Now, let’s explore DIY toner recipes for different skin types:
For Oily Skin:
- Apple Cider Vinegar Toner Ingredients:
- 1/4 cup apple cider vinegar
- 3/4 cup distilled water
Mix the ingredients in a clean bottle.
Benefits: Apple cider vinegar helps balance skin pH, control excess oil production, and has natural astringent properties. It may also help in reducing acne breakouts due to its antibacterial qualities.
- Cucumber and Mint Toner Ingredients:
- 1/2 cucumber, peeled and blended
- 2 tablespoons fresh mint leaves, chopped
- 1/4 cup distilled water
Blend the cucumber, mix with chopped mint leaves, and strain. Add distilled water and store in a clean bottle.
Benefits: Cucumber is naturally cooling and hydrating, helping to soothe oily, irritated skin. Mint has astringent properties that can help tighten pores and control oil production. Together, they create a refreshing toner that leaves skin feeling clean and balanced.
For Dry Skin:
- Rosewater and Glycerin Toner Ingredients:
- 1/2 cup rosewater
- 1 tablespoon vegetable glycerin
Combine the ingredients in a spray bottle.
Benefits: Rosewater is known for its soothing and anti-inflammatory properties, making it ideal for sensitive, dry skin. Glycerin is a humectant that attracts moisture to the skin, providing deep hydration and helping to prevent water loss.
- Honey and Chamomile Toner Ingredients:
- 1/4 cup brewed chamomile tea, cooled
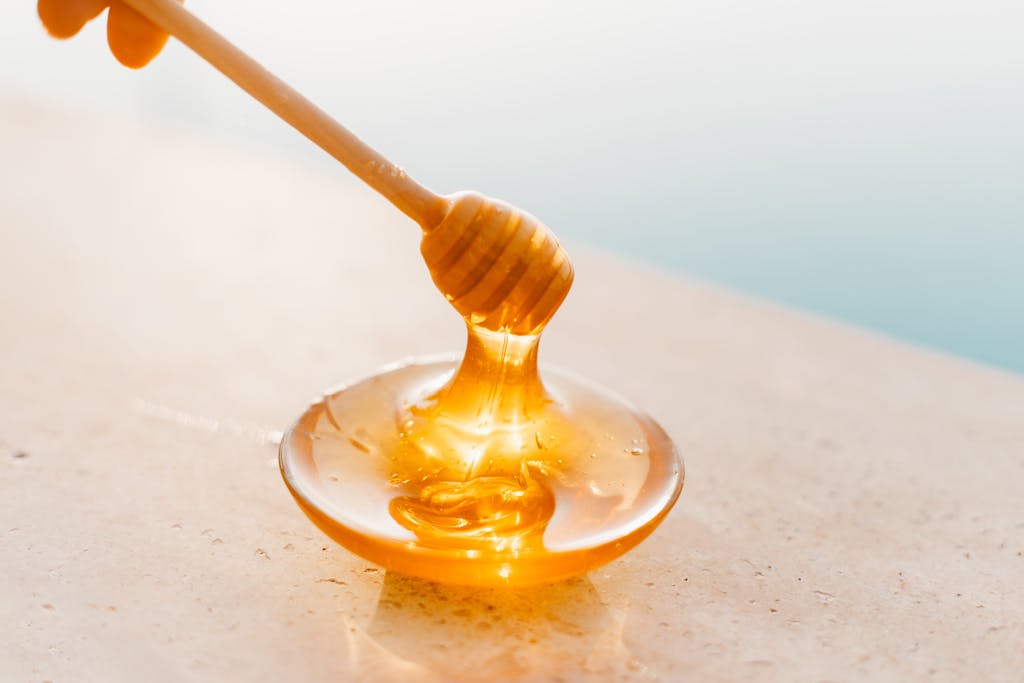
- 1 teaspoon raw honey
- 2 drops lavender essential oil (optional)
Mix all ingredients until the honey is fully dissolved.
Benefits: Chamomile has calming and anti-inflammatory properties, helping to soothe dry, irritated skin. Honey is naturally water-attracting and has antibacterial properties, providing hydration while helping to protect the skin. Lavender oil, if used, can add additional soothing benefits.
For Combination Skin:
- Green Tea and Aloe Vera Toner Ingredients:
- 1/2 cup brewed green tea (cooled)
- 2 tablespoons aloe vera gel
Mix well and store in a clean container.
Benefits: Green tea is rich in antioxidants, helping to protect the skin from free radical damage. It also has anti-inflammatory properties. Aloe vera is soothing and hydrating, making this toner perfect for balancing combination skin.
- Cucumber and Aloe Vera Toner Ingredients:
- 1/4 cup cucumber juice
- 2 tablespoons aloe vera gel
- 1 tablespoon distilled water
Blend cucumber to extract juice, then mix with aloe vera gel and water.
Benefits: Cucumber helps to soothe and refresh the skin, while aloe vera provides hydration and has anti-inflammatory properties. This combination helps to balance oily and dry areas of combination skin.
- Lemon and Honey Toner Ingredients:
- 1 tablespoon fresh lemon juice
- 1 teaspoon raw honey
- 1/4 cup distilled water
Mix all ingredients until well combined.
Benefits: Lemon juice has natural astringent properties that can help control oil in T-zone areas. Honey provides gentle hydration for drier areas, making this toner ideal for combination skin. It also has antibacterial properties that can help prevent breakouts.
For Acne-Prone Skin:
- Witch Hazel and Tea Tree Oil Toner Ingredients:
- 1/2 cup witch hazel
- 5 drops tea tree essential oil
Blend the ingredients in a bottle.
Benefits: Witch hazel is a natural astringent that can help reduce inflammation and tighten pores. Tea tree oil has powerful antibacterial properties, making this toner effective in combating acne-causing bacteria and reducing breakouts.
- Thyme and Green Tea Toner Ingredients:
- 1/4 cup brewed green tea, cooled
- 1/4 cup brewed thyme tea, cooled
- 2 drops tea tree essential oil
Brew the teas separately, allow to cool, then combine with tea tree oil.
Benefits: Thyme has strong antibacterial properties, potentially even more effective than benzoyl peroxide in treating acne. Green tea provides antioxidant benefits, while tea tree oil adds extra antibacterial power. This combination helps fight acne while soothing inflammation.

How to Use Your Homemade Face Toner
Using your homemade face toner correctly is crucial to maximise its benefits and maintain healthy skin. Follow these steps for the best results:
- Cleanse your face thoroughly: Start with a clean canvas. Use a gentle cleanser suitable for your skin type to remove dirt, oil, and makeup. Rinse with lukewarm water and pat your face dry with a clean, soft towel. Avoid rubbing, as this can irritate the skin.
- Choose your application method: There are two main ways to apply toner: a) Cotton pad method:
- Pour a small amount of toner onto a clean, reusable cotton pad or cotton round.
- Gently swipe the pad across your face, starting from the centre and moving outwards.
- Pay extra attention to areas prone to congestion, like the T-zone.
- Don’t forget your neck and décolletage area.
- b) Spritz method:
- Transfer your toner to a clean spray bottle with a fine mist setting.
- Close your eyes and lightly mist your face, holding the bottle about 20-30 cm away from your skin.
- For more precise application, you can spray the toner onto your palms and gently press it into your skin.
- Allow the toner to absorb: After application, give your skin a moment to absorb the toner. Gently pat or press the toner into your skin if needed, but avoid rubbing. This helps the active ingredients penetrate more effectively.
- Follow with your usual skincare routine: Once the toner has been absorbed, continue with the next steps in your skincare regimen. This typically includes:
- Serums (if you use them)
- Eye cream
- Moisturiser
- Sunscreen (during the day)
- Frequency of use: For most skin types, using toner twice daily (morning and night) is ideal. However, if you have sensitive skin, you might want to start with once a day and gradually increase as your skin adjusts.
Additional Tips for Using Homemade Toners:
- Temperature matters: Room temperature or slightly cool toner is usually most comfortable. In hot weather, storing your toner in the refrigerator can provide a refreshing, cooling effect.
- Don’t over-apply: More isn’t always better. Using too much toner can potentially dry out your skin. A light application is usually sufficient.
- Consistency is key: Like any skincare routine, consistent use will yield the best results. Give your new toner at least a few weeks of regular use to see its full effects.
- Listen to your skin: If you experience any irritation, redness, or discomfort, discontinue use and consult a dermatologist.
- Adjust for seasons: You may find that your skin’s needs change with the seasons. Don’t be afraid to switch between different homemade toner recipes as needed.
- Use fresh: Homemade toners lack the preservatives found in commercial products. Use your toner within 1-2 weeks and make fresh batches regularly to ensure efficacy and prevent bacterial growth.
- Complement with facial massage: After applying toner, you can incorporate a brief facial massage to boost circulation and help the product absorb.
By following these detailed steps and tips, you’ll be able to make the most of your homemade face toner, promoting healthier, more balanced skin. Remember, everyone’s skin is unique, so pay attention to how your skin responds and adjust your routine accordingly.


Tips for Making and Storing Homemade Face Toners
Creating and maintaining your homemade face toners requires attention to detail and proper care. Follow these tips to ensure the safety, efficacy, and longevity of your DIY skincare products:
- Cleanliness is crucial:
- Always use clean, sterilised containers to prevent bacterial growth.
- Wash your hands thoroughly before making or handling your toners.
- Sterilise bottles and tools by boiling them for 10 minutes or using a sterilising solution.
- Allow all equipment to air dry on a clean towel before use.
- Choose the right container:
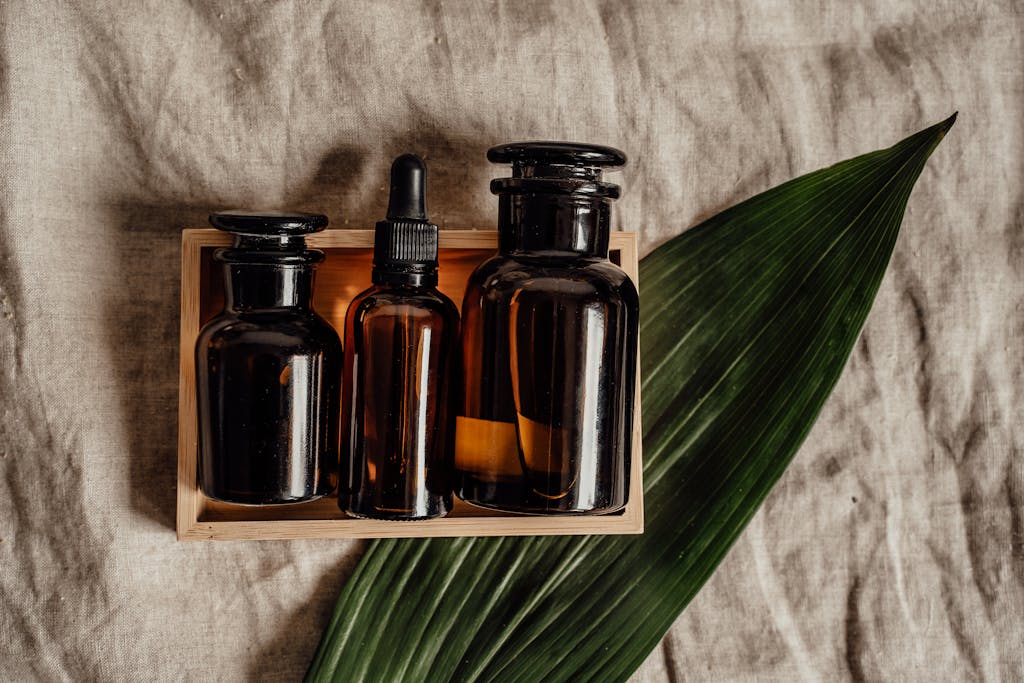
- Use dark glass bottles to protect light-sensitive ingredients.
- If using plastic, ensure it’s BPA-free and food-grade.
- Consider bottles with pump or spray tops for easy, hygienic application.
- Avoid containers with metal parts that might react with acidic ingredients.
- Proper storage conditions:
- Store your toners in a cool, dark place to maintain their effectiveness.
- A bathroom cabinet away from direct sunlight is often suitable.
- For extra cooling and refreshment, store some toners in the refrigerator.
- Avoid extreme temperature fluctuations, which can affect the toner’s stability.
- Make small batches:
- Prepare small quantities to ensure freshness.
- Replace your homemade toners every 1-2 weeks.
- Date your bottles to keep track of when they were made.
- Perform patch tests:
- Before applying any new toner to your face, do a patch test.
- Apply a small amount on your inner forearm and wait 24 hours.
- Check for any signs of irritation, redness, or allergic reaction.
- Use distilled or boiled water:
- Tap water can contain impurities.
- Use distilled water or boil and cool tap water for your recipes.
- This helps extend the shelf life and purity of your toners.
- Measure ingredients accurately:
- Use measuring spoons and cups for precise quantities.
- Too much of certain ingredients (like essential oils) can irritate the skin.
- Mix thoroughly:
- Ensure all ingredients are well combined before use.
- For oil-based ingredients, shake the bottle before each use.
- Avoid contamination:
- Don’t dip fingers directly into your toner.
- Use clean cotton pads or a spray bottle for application.
- Avoid sharing your homemade toners to prevent cross-contamination.
- Be mindful of ingredient shelf life:
- Check the expiration dates of your base ingredients.
- Essential oils and hydrosols have varying shelf lives; use fresh products.
- Discard any toner that changes colour, smell, or texture.
- Keep a record:
- Note down your recipes and any modifications you make.
- Record how your skin responds to different formulations.
- This will help you refine your perfect toner over time.
- Temperature during preparation:
- If heating ingredients (e.g., for herbal infusions), allow them to cool completely before bottling.
- Warm liquids can encourage bacterial growth.
- Packaging for travel:
- If taking your toner on trips, use a small, secure travel bottle.
- Consider making a fresh batch specifically for your journey.
By following these detailed tips, you can ensure that your homemade face toners are safe, effective, and a joy to use. Remember, natural doesn’t always mean risk-free, so always prioritise safety and hygiene when creating your own skincare products.

Conclusion
Embarking on the journey of creating homemade face toners is more than just a cost-effective alternative to commercial products; it’s a step towards a more personalised, natural, and mindful skincare routine. As we’ve explored throughout this article, DIY toners offer numerous benefits that extend beyond mere skincare.
Recap of Benefits:
- Cost-effectiveness: By using readily available, natural ingredients, you can significantly reduce your skincare expenses.
- Customisation: The ability to tailor ingredients to your specific skin type and concerns allows for a truly personalised approach to skincare.
- Natural ingredients: Avoiding harsh chemicals and synthetic additives can lead to healthier, more balanced skin in the long term.
- Environmental impact: Reducing reliance on commercial products means less plastic waste and a smaller carbon footprint.
- Knowledge and empowerment: Creating your own skincare products fosters a deeper understanding of ingredients and their effects on your skin.
The Versatility of Homemade Toners: We’ve provided recipes for various skin types – oily, dry, combination, and acne-prone. This diversity highlights the versatility of homemade toners. Whether you’re looking to control excess oil, boost hydration, balance combination skin, or combat acne, there’s a natural solution waiting in your kitchen.
A Learning Process: It’s important to remember that finding the perfect toner for your skin may involve some trial and error. Don’t be discouraged if the first recipe you try isn’t ideal. The beauty of homemade skincare lies in the ability to adjust and refine your formulas. Keep notes on how your skin responds to different ingredients and be patient as you discover what works best for you.
Safety First: While natural ingredients are generally safe, it’s crucial to prioritise hygiene and proper storage. Always perform patch tests, use clean tools and containers, and be mindful of expiration dates. Your skin’s health and safety should always be the top priority.
Beyond Toners: The skills and knowledge you gain from making your own toners can extend to other areas of skincare. Consider exploring DIY face masks, scrubs, or even moisturisers as you become more comfortable with creating your own products.
Holistic Skincare Approach: Remember that toners are just one part of a comprehensive skincare routine. Combine your homemade toners with a balanced diet, proper hydration, adequate sleep, and sun protection for the best results. Skincare is as much about what you put on your skin as it is about your overall lifestyle.
Community and Sharing: Don’t keep your newfound knowledge to yourself! Share your experiences, recipes, and tips with friends and family. Creating homemade skincare products can be a fun, bonding activity and a way to spread the benefits of natural skincare.
Continuous Learning: The world of natural skincare is vast and ever-evolving. Stay curious and open to learning about new ingredients, techniques, and skincare philosophies. Follow reputable skincare blogs, like mine! Consult with herbalists or natural skincare experts, and never stop educating yourself.
In conclusion, making your own face toners is more than a money-saving endeavour; it’s a journey towards understanding your skin better, making conscious choices about what you apply to your body, and potentially discovering a new passion. As you embark on this exciting path of DIY skincare, remember to enjoy the process, listen to your skin, and embrace the natural, radiant complexion that awaits you. Your skin – and the planet – will thank you for taking this step towards more natural, personalised care.


