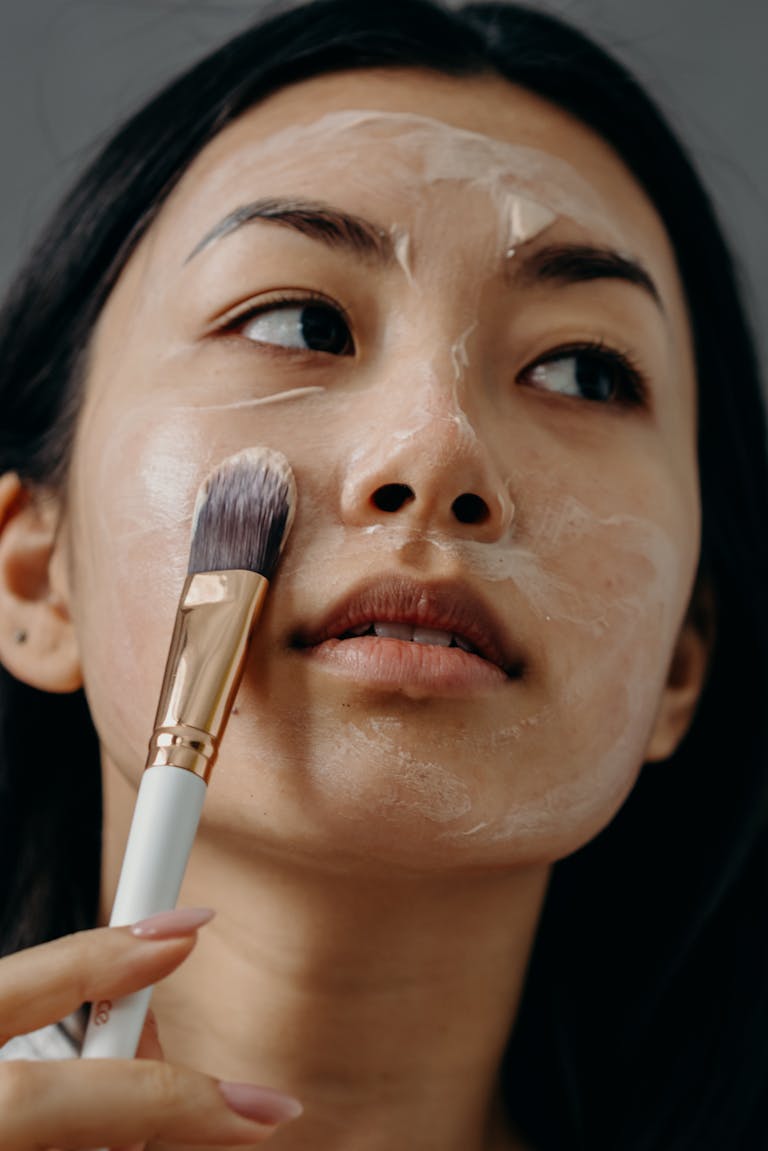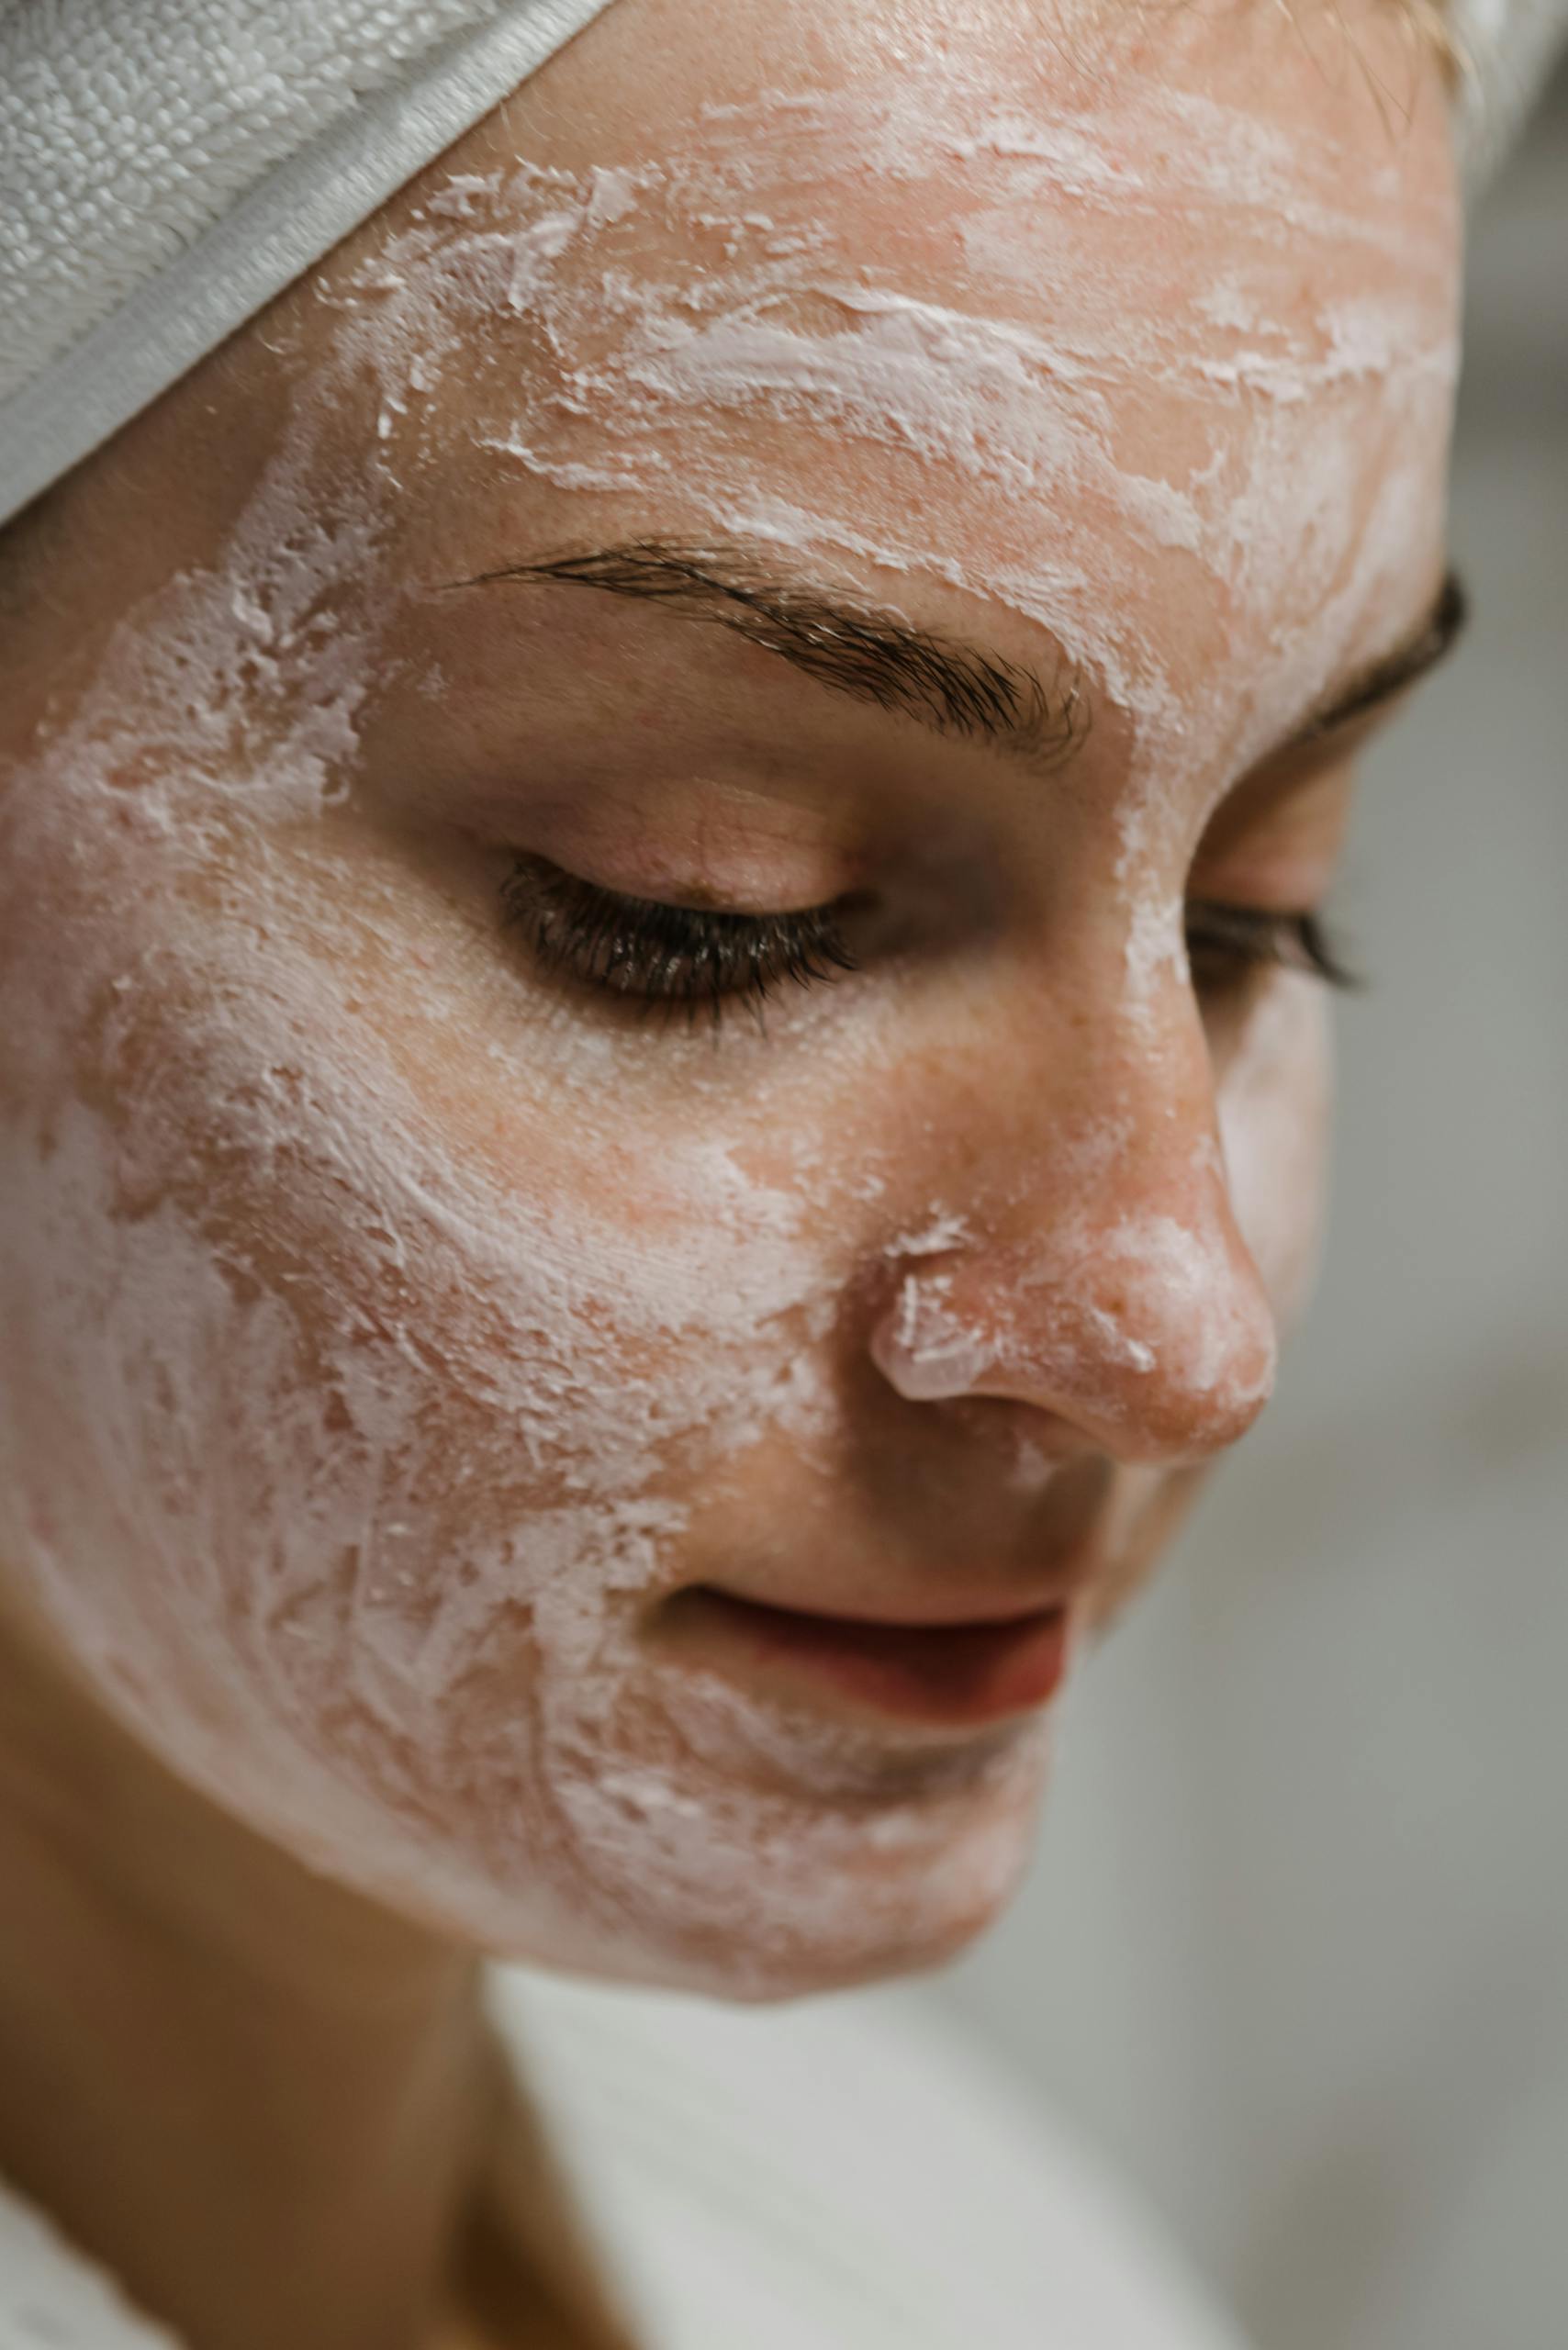
Are you looking for an affordable and effective way to pamper your skin, or want to host a pamper party and looking for activities to do? Look no further than homemade clay face masks! These natural wonders have been used for centuries to purify, nourish, and rejuvenate the skin. In this article, we’ll explore the benefits of clay masks and share some easy DIY recipes tailored to different skin concerns.
Why Choose Homemade Clay Face Masks?
Clay masks have been a staple in skincare routines for thousands of years, and for good reason. These natural wonders offer a multitude of benefits that make them an excellent choice for various skin types and concerns. Let’s delve deeper into why you should consider incorporating homemade clay face masks into your skincare regimen:
- Deep Cleansing Action: Clay has a unique ability to draw out impurities from deep within the skin. As the clay dries, it acts like a magnet, attracting and absorbing toxins, excess oil, and debris from your pores. This deep cleansing action can help prevent breakouts and leave your skin feeling refreshed and purified.
- Gentle Exfoliation: Many clay masks offer mild exfoliation as you rinse them off. This gentle scrubbing action helps remove dead skin cells, promoting cell turnover and revealing brighter, smoother skin underneath.
- Balancing Oil Production: For those with oily or combination skin, clay masks can be a game-changer. They help absorb excess sebum without stripping the skin of its natural oils, leading to a more balanced complexion over time.
- Improved Skin Texture: Regular use of clay masks can refine skin texture, minimising the appearance of pores and creating a smoother canvas for makeup application.
- Natural and Cost-Effective: By making your own clay masks at home, you’re using natural ingredients and avoiding potentially harsh chemicals found in many commercial products. This DIY approach is also incredibly cost-effective compared to expensive shop-bought masks or spa treatments.
- Customisable to Your Needs: One of the biggest advantages of homemade clay masks is the ability to tailor them to your specific skin concerns. You can adjust ingredients based on your skin type, add essential oils for aromatherapy benefits, or incorporate other natural elements like honey or aloe vera for added nourishment.
- Stress Relief and Self-Care: Taking the time to apply a face mask and relax for 10-15 minutes can be a wonderful act of self-care. The ritual of mixing and applying your own mask can be therapeutic, offering a moment of mindfulness in your busy day.
- Boosted Circulation: As clay masks dry, they cause a slight tightening effect on the skin. This can help stimulate blood flow to the face, promoting a healthy, rosy glow.
- Mineral-Rich Nourishment: Clays are packed with minerals that can benefit the skin. For example, bentonite clay is rich in silica, magnesium, and calcium, which can help support skin health and elasticity.
- Versatility: Clay masks aren’t just for your face – they can be used on other areas of the body too. They’re great for spot-treating blemishes, as a hair mask for oily scalps, or even as a full-body treatment.
By choosing homemade clay face masks, you’re opting for a natural, effective, and personalised approach to skincare. Whether you’re looking to address specific skin concerns or simply want to indulge in some self-care, clay masks offer a wealth of benefits that make them a worthy addition to any skincare routine.
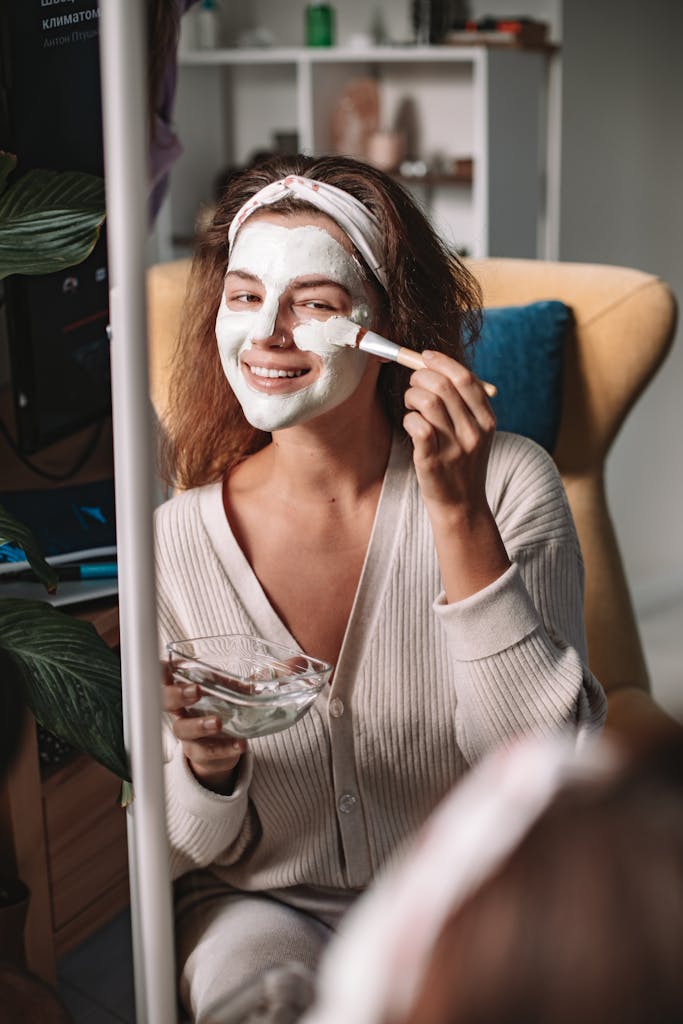
Types of Clay for Face Masks
When it comes to creating homemade clay face masks, the type of clay you choose can make a significant difference. Each clay has unique properties that cater to different skin types and concerns. Before diving into the recipes, let’s explore some common clays used in homemade face masks:
- Bentonite Clay: Originating from volcanic ash, bentonite clay is renowned for its powerful detoxifying properties. It has a strong negative electrical charge, which helps it attract positively charged toxins and impurities from the skin.
Best for: Oily and spot-prone skin Benefits: Deep cleansing, oil absorption, and pore reduction
- Kaolin Clay: Also known as white clay or China clay, kaolin is the gentlest of all clays. It’s rich in silica dioxide and is suitable for all skin types, especially sensitive and dry skin.
Best for: Sensitive, dry, or mature skin Benefits: Mild exfoliation, improved circulation, and gentle cleansing
- French Green Clay: This clay gets its colour from decomposed plant matter and iron oxide. It’s highly absorbent and is excellent for drawing out impurities and tightening pores.
Best for: Combination and oily skin Benefits: Detoxification, oil absorption, and skin toning
- Rhassoul Clay: Mined from the Atlas Mountains of Morocco, rhassoul clay is rich in minerals like silica, magnesium, and potassium. It’s known for its ability to improve skin elasticity and texture.
Best for: Dry and mature skin Benefits: Hydration, improved elasticity, and gentle exfoliation
- Pink Clay: A gentle clay that’s suitable for most skin types, pink clay is a blend of red and white clays. It’s rich in silica and helps to gently exfoliate and rejuvenate the skin.
Best for: Normal to sensitive skin Benefits: Gentle cleansing, improved circulation, and a healthy glow
- Red Clay: High in iron oxide, red clay is known for its ability to boost circulation and remove dead skin cells. It’s particularly beneficial for dull or lacklustre skin.
Best for: Normal to oily skin Benefits: Exfoliation, improved circulation, and brightening
- Yellow Clay: Yellow clay is rich in iron oxide and is known for its ability to stimulate the skin and improve circulation. It’s gentler than green clay but more stimulating than white clay.
Best for: Normal to dry skin Benefits: Mild exfoliation, improved circulation, and skin brightening
When choosing a clay for your homemade face mask, consider your skin type and specific concerns. You can even mix different clays to create a custom blend that addresses multiple skin issues. Remember to always perform a patch test before applying a new clay mask to your entire face, and start with shorter application times to see how your skin reacts.
By understanding the properties of different clays, you can create tailored homemade face masks that deliver optimal results for your unique skin needs.
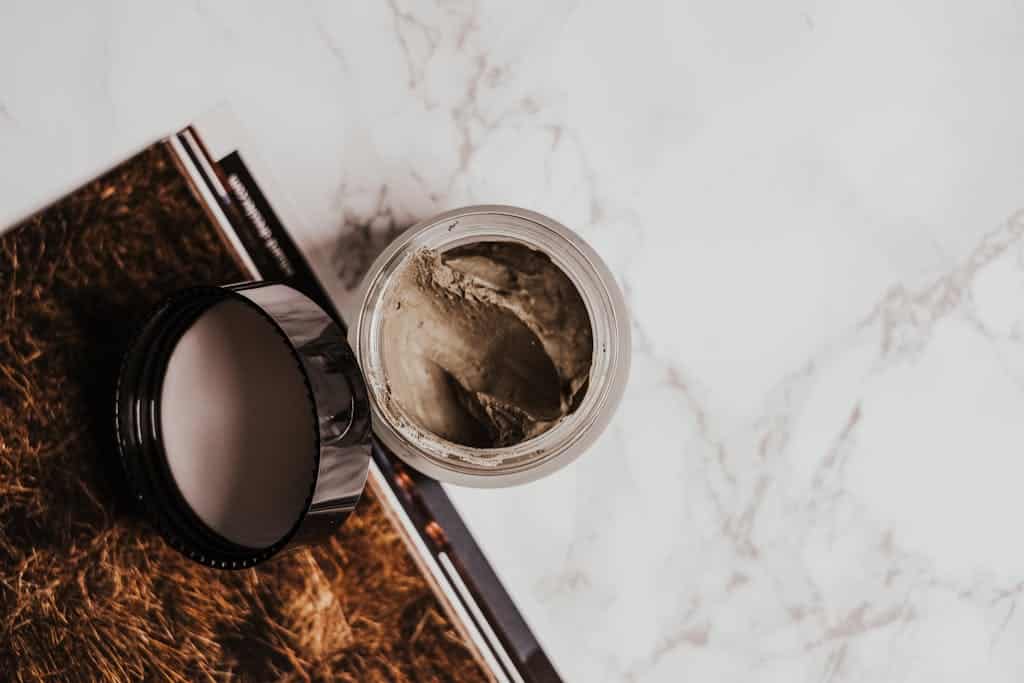
Homemade Clay Face Mask Recipes
Now for the fun part! Let’s make some homemade clay face masks for different skin type needs:
for Oily Skin
Balancing Apple Cider Vinger Mask
Ingredients:
- 1 tablespoon bentonite clay
- 1 teaspoon apple cider vinegar
- 1 teaspoon honey
- Water as needed
Mix ingredients to form a paste. Apply to clean skin and leave for 10-15 minutes before rinsing. Bentonite clay draws out impurities, while apple cider vinegar helps balance skin pH and honey provides antibacterial properties.
Clarifying Tea Tree Mask
Ingredients:
- 1 tablespoon bentonite clay
- 1 teaspoon green tea powder
- 2-3 drops of tea tree essential oil
- Water as needed
Mix ingredients to form a paste. Apply to clean skin and leave for 10-12 minutes before rinsing. The tea tree oil helps combat blemishes, while green tea offers antioxidant benefits.
for Sensitive Skin
Soothing Aloe vera Mask
Ingredients:
- 1 tablespoon kaolin clay
- 1 teaspoon aloe vera gel
- 2-3 drops lavender essential oil
- Water as needed
Combine ingredients and apply to face. Rinse after 10 minutes. Kaolin clay offers gentle cleansing, while aloe vera soothes and lavender essential oil calms irritated skin.
Calming Oatmeal Mask
Ingredients:
- 1 tablespoon kaolin clay
- 1 teaspoon finely ground oatmeal
- 1 teaspoon honey
- Water as needed
Combine ingredients and apply to face. Rinse after 8-10 minutes. Oatmeal soothes irritation, while honey provides gentle hydration.
for Combination Skin
Detoxifying Matcha Mask
Ingredients:
- 1 tablespoon French green clay
- 1 teaspoon matcha powder
- 1 teaspoon honey
- Water as needed
Mix well and apply to the face. Leave for 15 minutes before washing off. French green clay absorbs excess oil, while matcha powder provides antioxidants and honey offers hydration and antibacterial properties.
Balancing Yoghurt Mask
Ingredients:
- 1 tablespoon French green clay
- 1 tablespoon plain, unsweetened yoghurt
- 1/2 teaspoon honey
- Water if needed
Mix well and apply to face. Leave for 12-15 minutes before washing off. Yoghurt helps balance skin pH, while honey offers antibacterial properties.
for Dry Skin
Hydrating Avocado and rosehip Mask
Ingredients:
- 1 tablespoon rhassoul clay
- 1 teaspoon rosehip oil
- 1 teaspoon mashed avocado
- Water as needed
Blend ingredients and apply to face. Rinse after 10-15 minutes. Rhassoul clay gently exfoliates, while rosehip oil nourishes and avocado deeply moisturises the skin.
Nourishing Avocado and Jojoba Mask
Ingredients:
- 1 tablespoon rhassoul clay
- 1 tablespoon mashed ripe avocado
- 1 teaspoon jojoba oil
- Water as needed
Blend ingredients and apply to face. Rinse after 10-12 minutes. Avocado provides deep hydration, while jojoba oil mimics the skin’s natural sebum.
Tips for Using Homemade Clay Face Masks
To get the most out of your homemade clay face masks and ensure a safe, effective experience, consider the following tips:
- Patch Test First: Always perform a patch test before applying a new mask to your entire face. Apply a small amount of the mixture to the inside of your wrist or behind your ear, and wait 24 hours to check for any adverse reactions.
- Use Non-Metal Utensils: When mixing and applying clay masks, use wooden, plastic, or glass utensils and bowls. Metal can react with the minerals in the clay, potentially reducing its effectiveness or altering its properties.
- Don’t Let the Mask Completely Dry: While it’s tempting to leave the mask on until it’s fully dry, this can actually over-dry your skin and lead to irritation. Remove the mask when it feels firm but still slightly damp to the touch.
- Apply to Clean Skin: Always start with a clean face to ensure the clay can effectively draw out impurities. Gently cleanse your face and pat dry before applying the mask.
- Be Gentle When Removing: Use lukewarm water and gentle, circular motions to remove the mask. Avoid scrubbing harshly, as this can irritate the skin.
- Follow Up with Moisturiser: After rinsing off the mask, apply a suitable moisturiser to lock in hydration and prevent your skin from feeling tight or dry.
- Frequency of Use: For most skin types, using a clay mask once or twice a week is sufficient. Those with very oily skin might benefit from up to three times a week, while those with dry or sensitive skin should stick to once a week or less.
- Customise Your Recipe: Don’t be afraid to experiment with different ingredients to suit your skin’s needs. You can add a drop of essential oil for fragrance, or mix in honey for extra hydration.
- Mind the Temperature: Apply your mask at room temperature. Extremely cold or hot masks can shock your skin and cause irritation.
- Pay Attention to Your Skin: If you notice any redness, itching, or discomfort while the mask is on, remove it immediately and rinse with cool water.
- Store Properly: If you’ve made extra, store your clay mask mixture in an airtight container in a cool, dry place. Use within a week to ensure freshness.
- Timing is Key: Leave the mask on for the recommended time, usually 10-15 minutes. Setting a timer can help you avoid leaving it on for too long.
- Focus on Problem Areas: You don’t always have to apply the mask to your entire face. You can target specific areas, like an oily T-zone or spot-prone chin.
- Stay Hydrated: Drink plenty of water before and after your mask treatment to help flush out toxins and keep your skin hydrated from the inside out.
- Combine with Facial Massage: As you apply the mask, give yourself a gentle facial massage to boost circulation and help the clay penetrate more effectively.
By following these tips, you’ll be well on your way to enjoying all the benefits of your homemade clay face masks while keeping your skin happy and healthy.
Conclusion
Embracing the power of homemade clay face masks can be a game-changer for your skincare routine. These natural, versatile, and cost-effective treatments offer a wealth of benefits that cater to a wide range of skin concerns.
By incorporating DIY clay masks into your regimen, you’re not just pampering your skin; you’re taking control of your skincare journey. The ability to customise your masks with different clays and additional ingredients allows you to address your unique skin needs, whether you’re battling oily skin, seeking hydration, or aiming to soothe sensitivity.
Moreover, the ritual of creating and applying these masks can be a form of self-care, offering a moment of tranquillity in our often hectic lives. It’s an opportunity to slow down, reconnect with yourself, and indulge in a bit of at-home spa luxury.
Remember, consistency is key when it comes to skincare. While you may notice some immediate benefits after using a clay mask, the true magic happens with regular use. Over time, you’re likely to see improvements in your skin’s texture, tone, and overall health.
As you experiment with different recipes and find what works best for your skin, don’t be afraid to adjust and refine your approach. Your skin’s needs may change with the seasons, stress levels, or age, so stay attuned to how your skin responds and be willing to adapt your mask recipes accordingly.
Lastly, while homemade clay masks can be a powerful addition to your skincare routine, they should complement, not replace, your regular cleansing, toning, and moisturising regimen. For optimal results, consider how these masks fit into your overall skincare strategy.
I hope this guide has inspired you to explore the world of homemade clay face masks. With a bit of clay, some natural ingredients, and the knowledge you’ve gained, you’re well-equipped to embark on this skincare adventure. Here’s to healthier, happier skin – naturally!
Remember, everyone’s skin is unique, so what works for one person may not work for another. If you have any persistent skin concerns or conditions, it’s always wise to consult with a dermatologist or skincare professional for personalised advice.
Why not start your clay mask journey today? Your skin will thank you for it. Happy masking!

